Agusta-Bell 206B RC Helicopter in Scale 1:5.7 of the Greek Army Aviation


Introduction

I have started this blog as an english-text alternative to a thread that I have opened in modelclub.gr (modelclub forum in greek) regarding my project to build an RC scale model of an Agusta-Bell 206B Jet Ranger II of the Hellenic Army (see unofficial site).


Now a few words about the project itself. The model is based on the fuselage provided by Vario (model 1004) in scale 1:5.7. There are very little differences between a Jet Ranger III (model kit) and an Agusta-Bell AB-206B Jet Ranger II that I needed for the project, so I decided to get the kit from Vario. The kit has been bought from one of the best specialists and professionals in the field, Mr Thomas Baumann who has helped me with making my choice of the model and its accessories (Helikopter Baumann). Thanks Thomas! I would also like to thank the team of eflight for their professional support not only for this construction but for all my RC models and accessories. In addition, I would like to thank the team from Innoflyer and especially Mr. Christophe Raible for the help with the lighting system and for letting me test a new CPL model before its official launch. I would like to add here the biwix.com RC helicopter store and Johnny Trolliet at my hometown Renens for his exceptional service, availability and prices!

The particularity of this project is that the mechanism that I fit in the fuselage is not the one from Vario but a modified Align T-Rex 700E (Align RC Helicopters). I will give here details on the way that this is done with diagrams, photos, tips and tricks. This will cover the first part. The flight tests of the modified T-REX 700E have been conducted at the RC model field in Dizy, Switzerland that belongs to the Dizy RC Modelling Group (GAM Dizy). Big THANKS to all the members of the Club for the great friendliness since the first day I started there and for their help with advice and tips!

The second part will be dedicated to the scale model itself. Some photos of the Greek AB-206B can be found on the internet but they do not cover all the details. More photos of the aircraft with the Greek colors may be requested in the forum of modelclub.gr where I have gotten most of them thanks to the team spirit and great friendliness of the members (THANKS^1000 dsamba!!!). In order to complete the photographic part of the project I managed to get my own photos of a Jet Ranger III. This has been made possible thanks to the courtesy of the people from Heli-Lausanne (Heli-Lausanne) who have immediately accepted my request to get there and take as many photos as I needed. A big THANKS to them too!!!
At the last phase of construction, I have got invaluable help for the dimensions of the AB-206B landing gear from Iraklis Karailidis. Many-many thanks to you Iraklis!

So after this short introduction I will start publishing the steps I have already taken and will take during this quite challenging project (at least for me, it is my first scale RC helicopter).

I hope that you will find this blog helpful if you have a similar (or the same) project as mine and you will enjoy it as much as I do!

Welcome!
Hellenicopter

13/11/2020

3D-Printed Stick Handle for the AB-206B 


Hi,

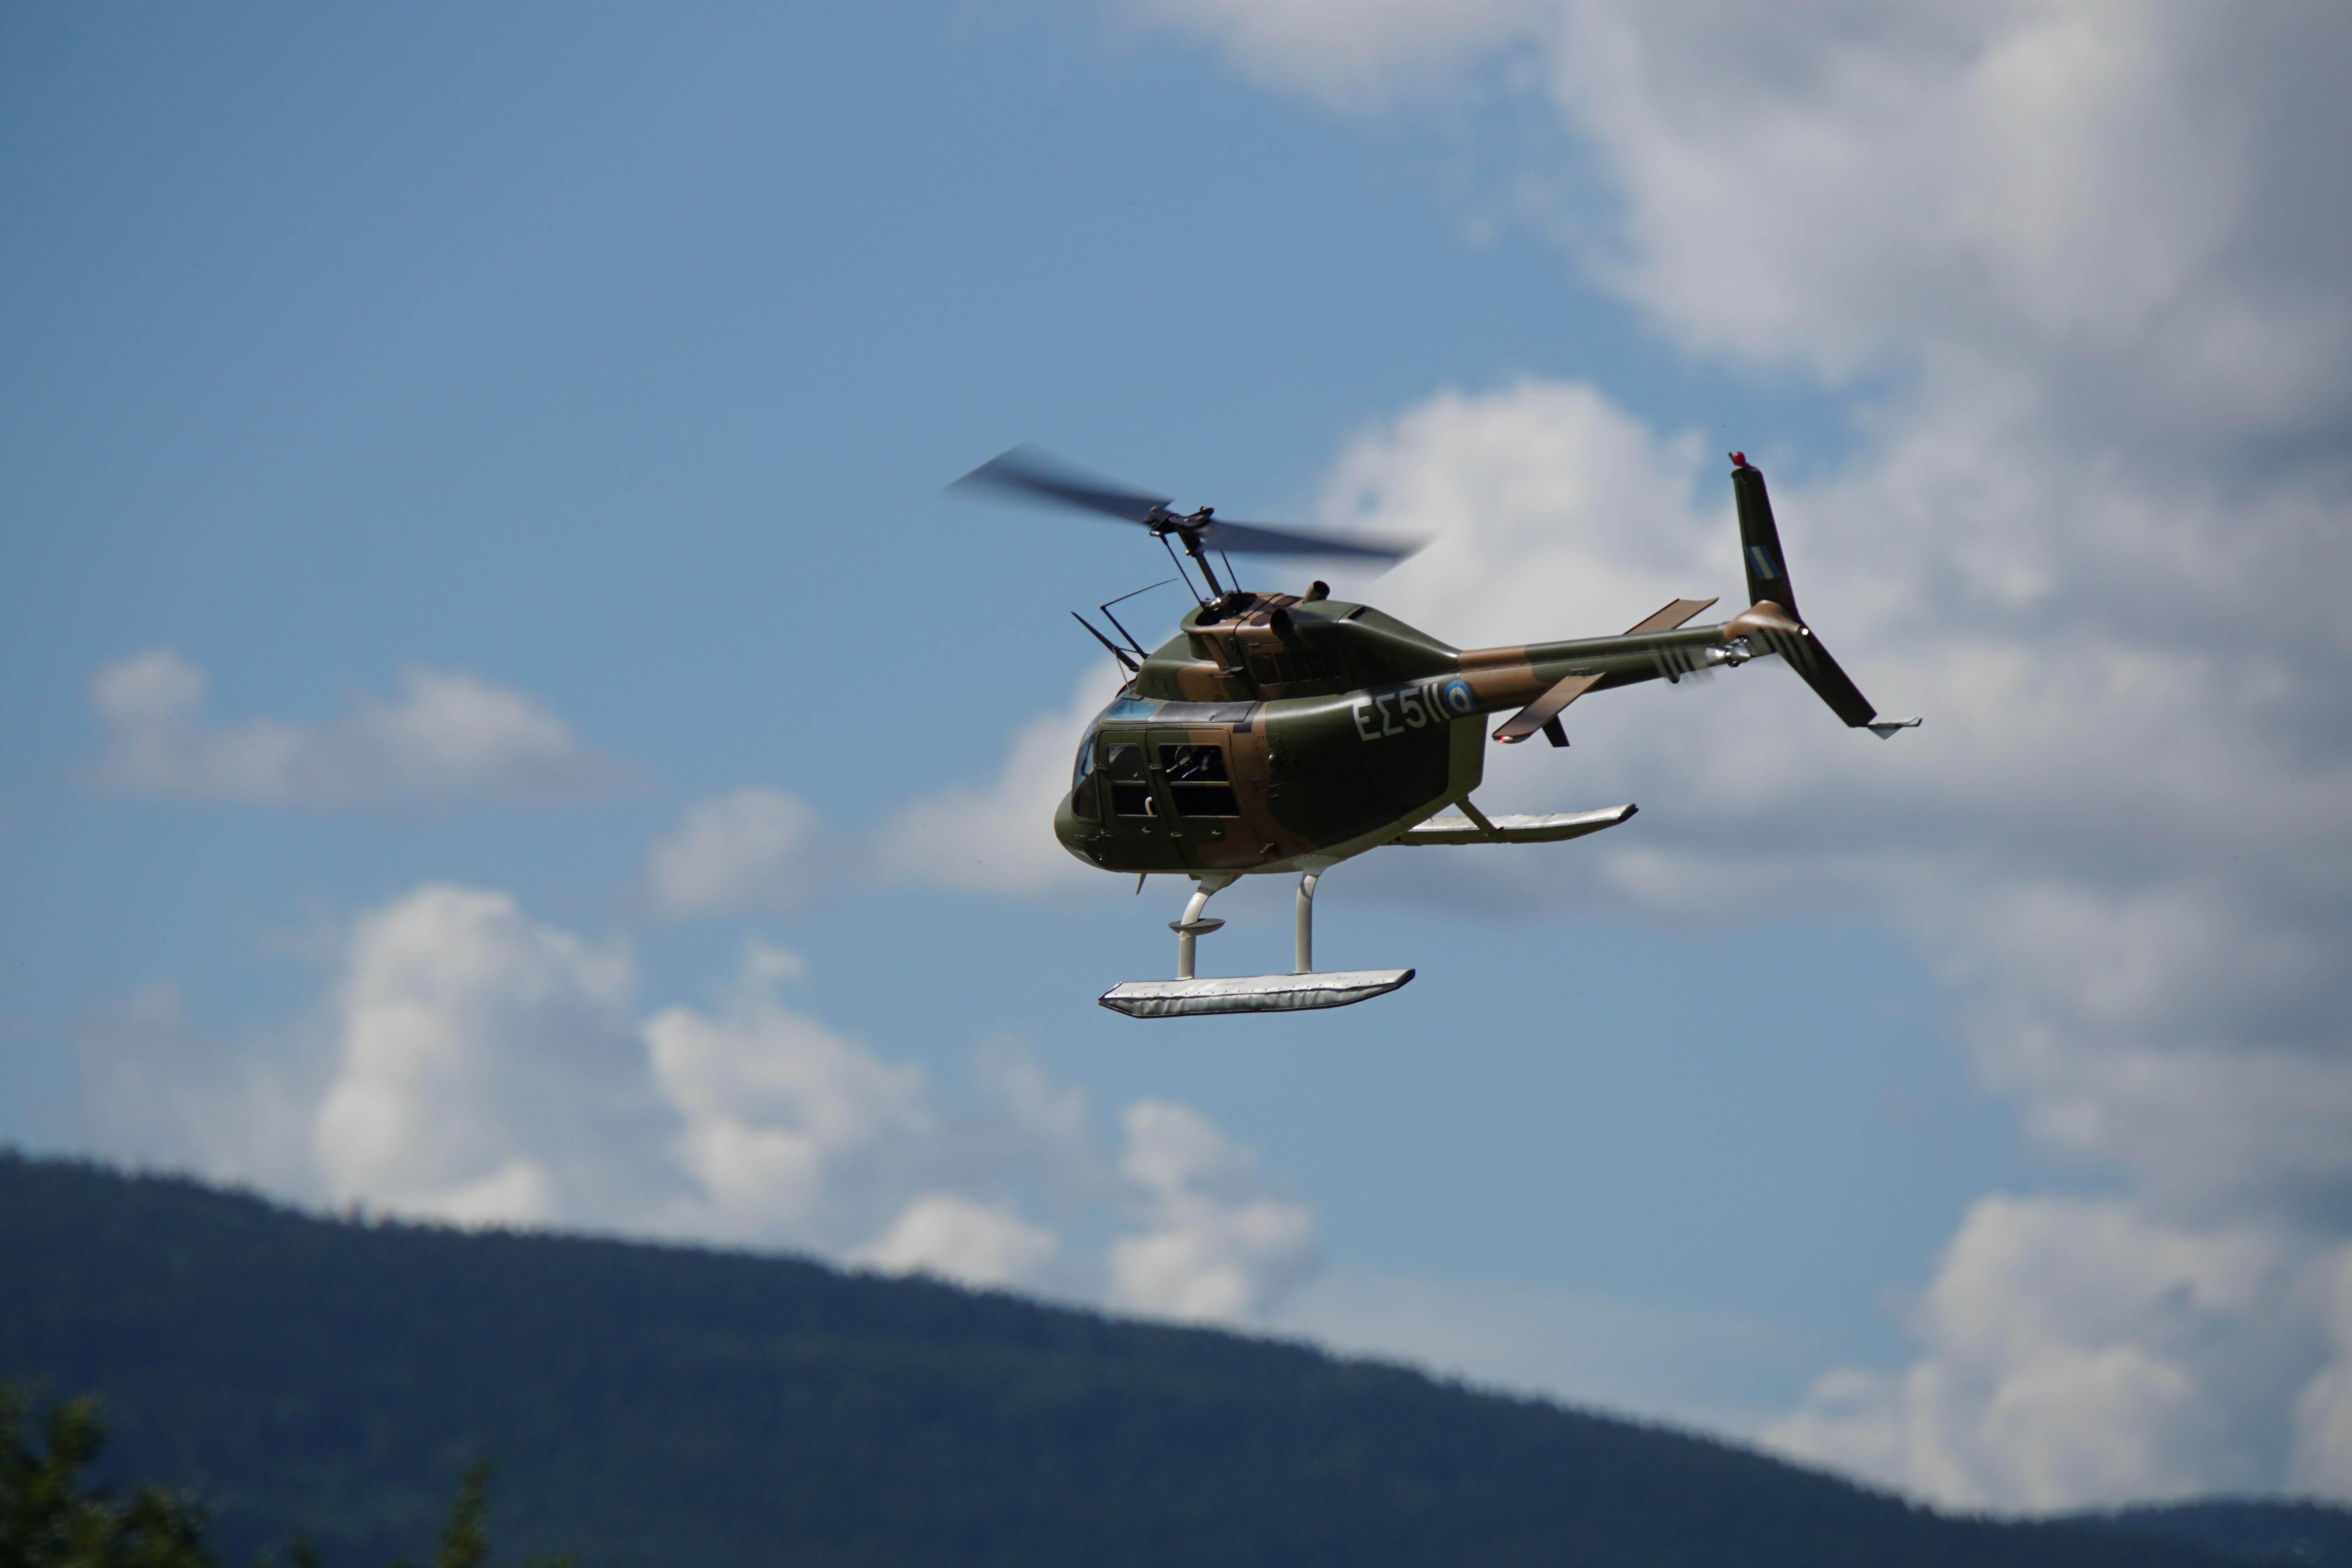
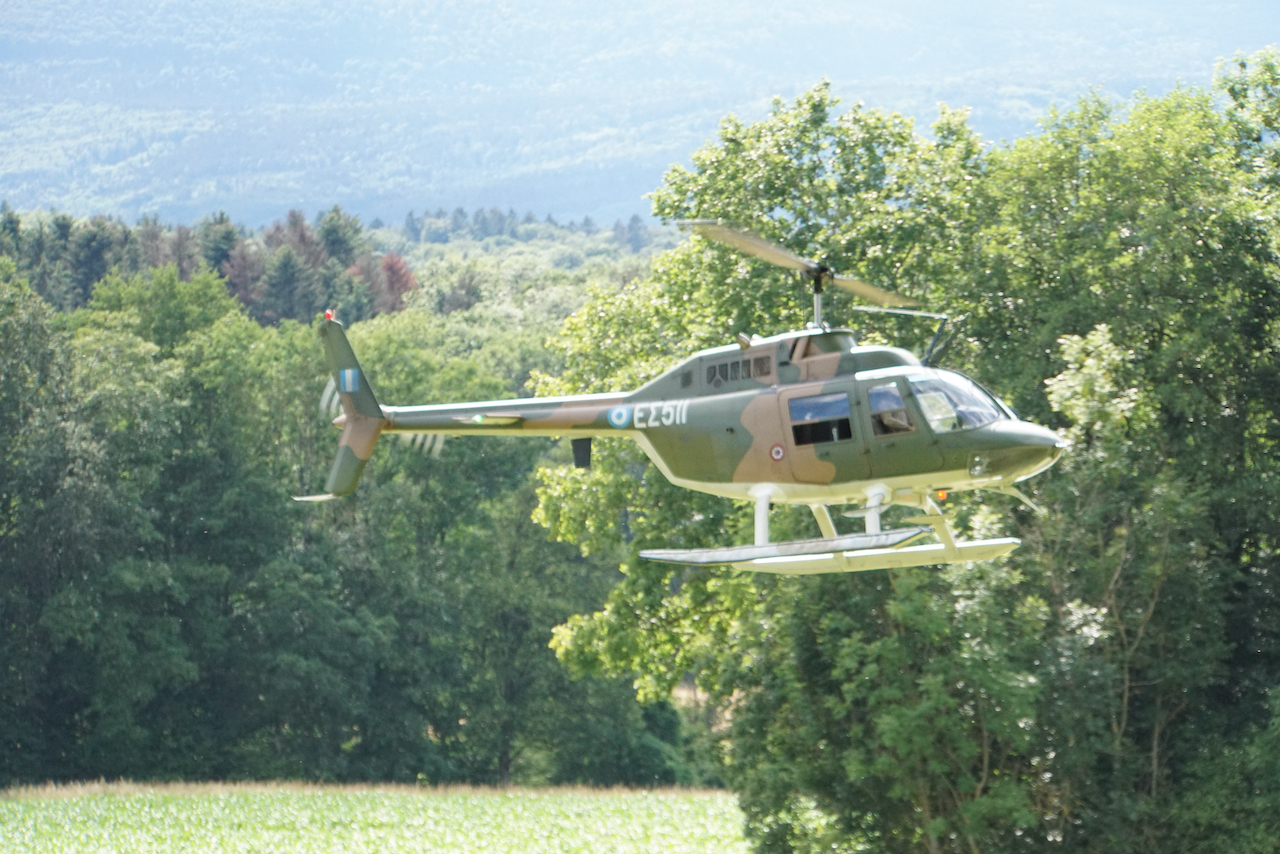
After a very long time of almost zero modeling activity a resumed the build of the interior parts of my scale helicopter.
In the meantime a Creality LD-002R 3D resin printer has been added to my "arsenal" and it gives very decent results (at least at this scale, ~1:6). I have used the Druckwege type D standard resin with 20 μm vertical resolution. Exposure time is of the order of 3.5s per layer and I have used 5 base layers with 50-60s exposure time for a good adhesion of the raft on the build plate.

The handle has been designed from scratch with Autodesk Fusion 360 CAD program.
 
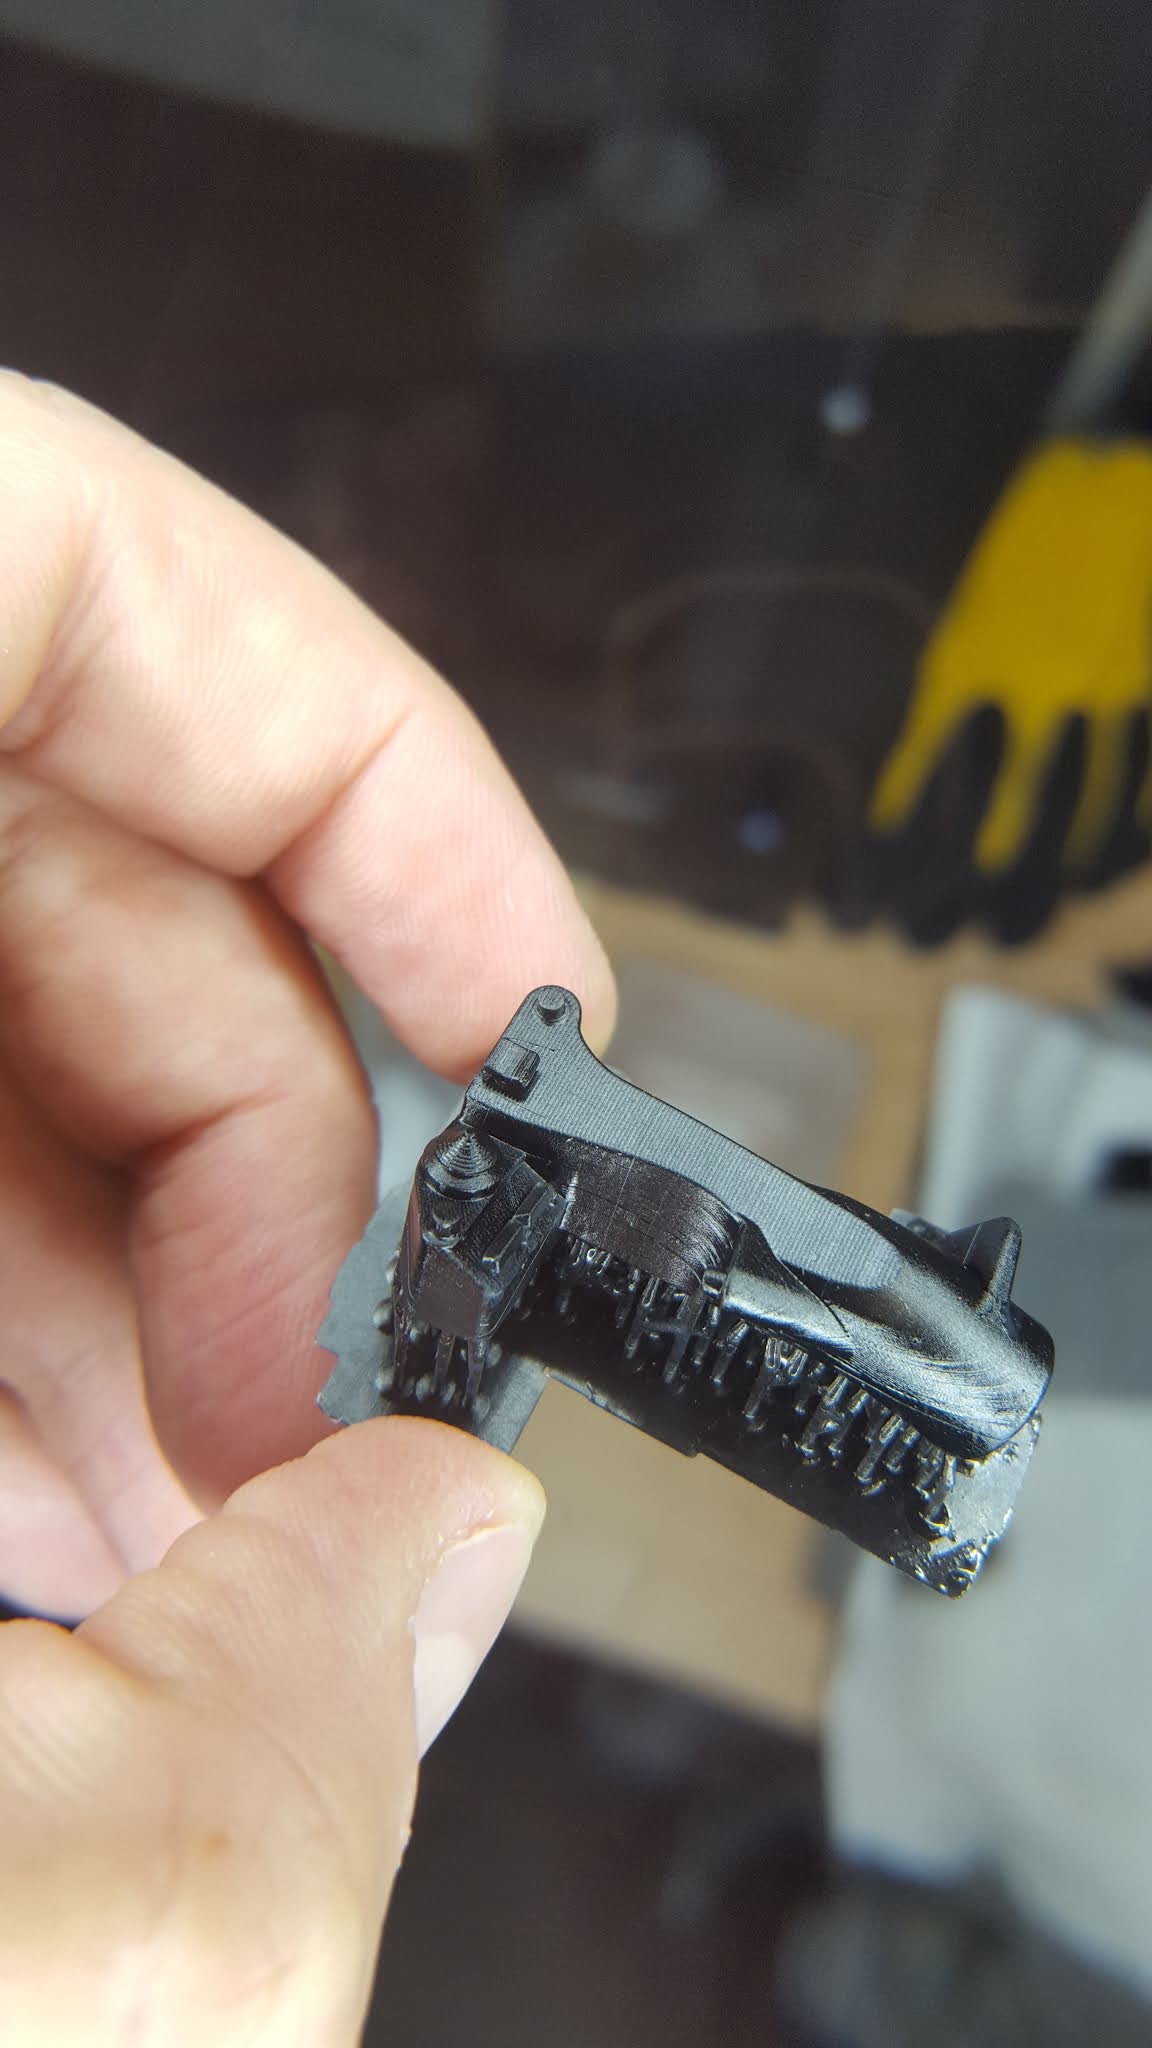
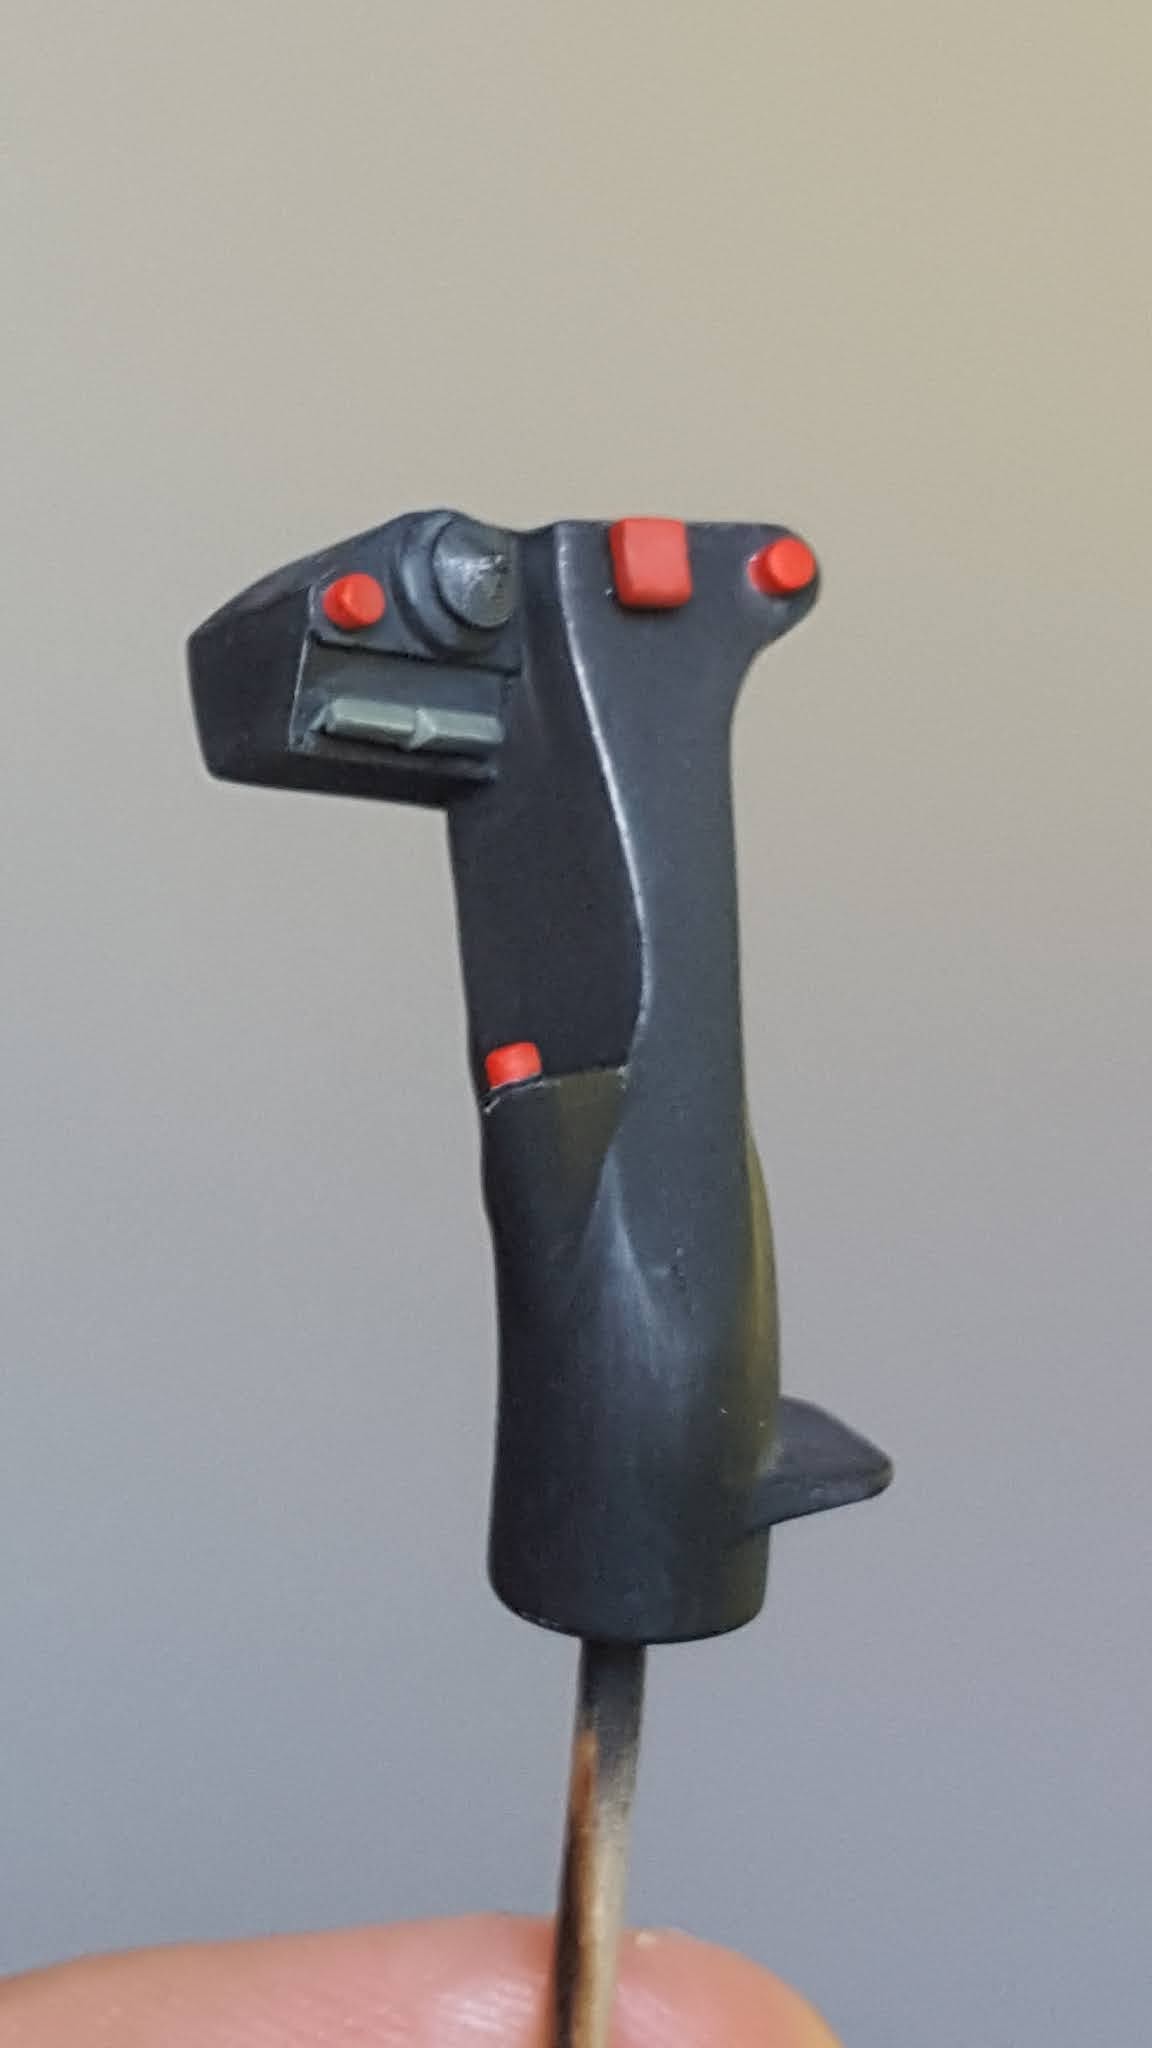
I have tried to print and paint the stick handles of the helicopter with quite satisfying results (see pictures below). After removal of the many support pins of the model quite some time has been spent with various sandpaper grit sizes starting with 400 (always wet) and ending to 1000. Next a primer coat (black gloss primer from Alclad) has been sprayed with my Airbrush (H&S Evolution with 0.2mm nozzle). I did not spend time to correct small imperfections on the surface (tiny holes for example) as this is just a prototype, I needed only to find the general "recipe" for sanding and painting. Filling can be done easily using the the same 3D resin applied with a brush and cured with UV, so that was not an issue (tested successfully in the past). 
Once the primer set I continued with a fine brush to paint the buttons (red 71.003 and green 71.329) with Vallejo Model Air colors and when the colors dried I applied 2 coats of Matt Vallejo varnish. 
 
 
The model shape is not yet optimized as it is not so easy to find good pictures of the real one. It is easiest to find some by looking for "OH-58A cockpit" or something with the "OH-58A" in it.
 
I hope to find some time to continue and finish the cockpit.
 
Cheers,
Hellenicopter

08/12/2019

Rivets with Silhouette Cameo

Hi,

While working on various techniques for riveting, I have tried a method using a vinyl film and the Cameo cutting machine from Silhouette.
You can see the results in the photos below.
One row of holes is 0.9mm in diameter and the other 0.95mm .
I think that I could go down to 0.8 or even 0.7mm.

The technique is inspired from what I have seen on this video.
You can directly buy stripes for riveting from Heli-Planet.

This is for sure the method I will use for my next scale RC helicopter!

Cheers,
Hellenicopter